7 Steps to Carve a Northern Cardinal: A Beginner’s Guide
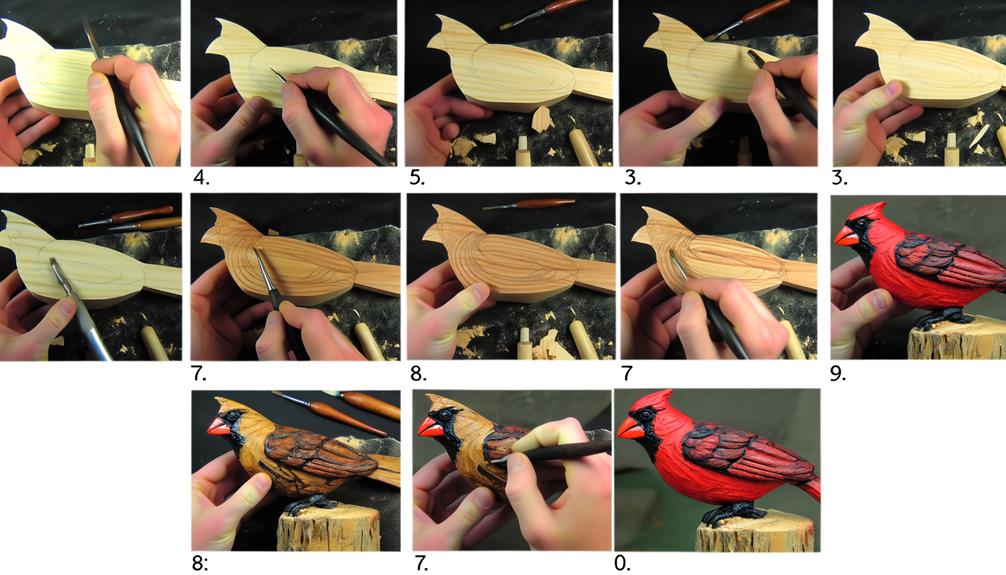
To carve a Northern Cardinal, start by selecting fine-grained wood like basswood to prevent cracking and guarantee smooth detail work. Gather essential tools such as carving knives, gouges, micro chisels, and sandpaper.
Cut the wood block to a cardinal shape using a band saw, then sketch the outline. Rough out the shape, focusing on the crest, wings, and beak with precision.
Carve primary feather groups, add facial features, and refine details. Sand the entire piece and apply a base coat, red paint layers, and a clear varnish.
To master each step and achieve a professional finish, let's continue.
Key Takeaways
- Choose fine-grained wood like basswood, ensure it is seasoned, and cut to the cardinal's shape.
- Sketch the cardinal's outline and rough out the shape using a band saw and carving knife.
- Carve wings with a layered effect and add texture using micro gouges or V-tools.
- Detail facial features including eyes, beak, and mask with precision for realism.
- Sand the carving smoothly, then apply paint and a clear matte varnish for protection.
Selecting Your Wood
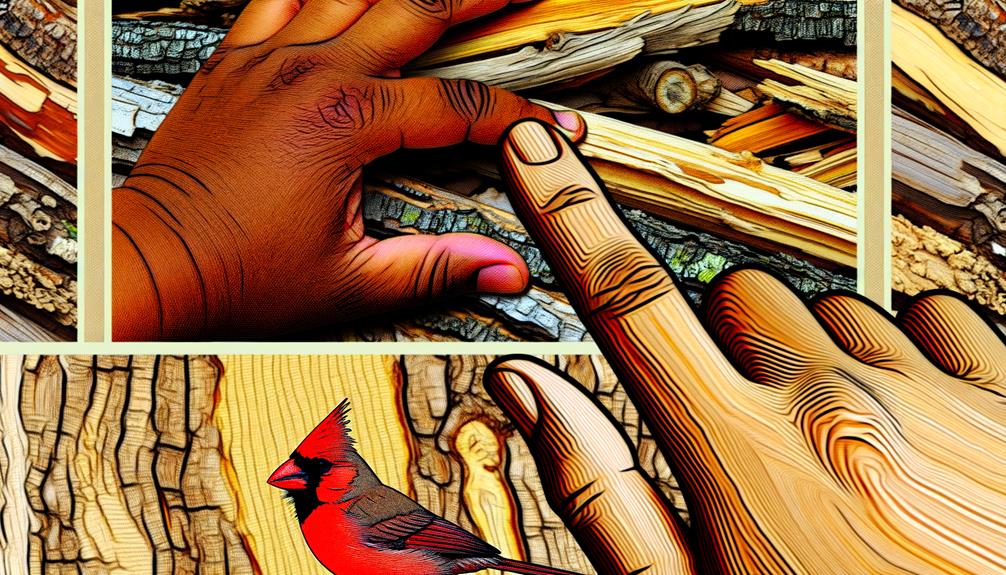
When selecting your wood, focus on choosing a piece with a fine, even grain to secure smooth carving and detailed work. Basswood and tupelo are excellent choices for beginners and seasoned carvers alike. They're soft and easy to carve, making them ideal for intricate details like a Northern Cardinal's delicate feathers.
Inspect the wood to ensure it's free of knots and blemishes, as these can disrupt the carving process and compromise the final piece. Opt for a block that's slightly larger than your intended carving size; this allows for adjustments and corrections. Seasoned wood is preferable because it's less likely to warp or crack.
Gathering Necessary Tools
Assembling the proper tools is essential for achieving precise and detailed results in carving a Northern Cardinal. A sharp carving knife is paramount for clean cuts and intricate details.
Various gouges, including V-gouges and U-gouges, allow for shaping and texturing the bird's feathers. A set of micro chisels is beneficial for working on the finer aspects such as the beak and claws.
Sandpaper in grits ranging from coarse to fine will smooth the surface and refine details. Use a sturdy workbench with clamps to secure the wood block, ensuring stability.
Safety gloves and glasses are indispensable to protect hands and eyes from sharp tools and wood shavings. Finally, a pencil and ruler will aid in marking guidelines.
Preparing the Wood Block
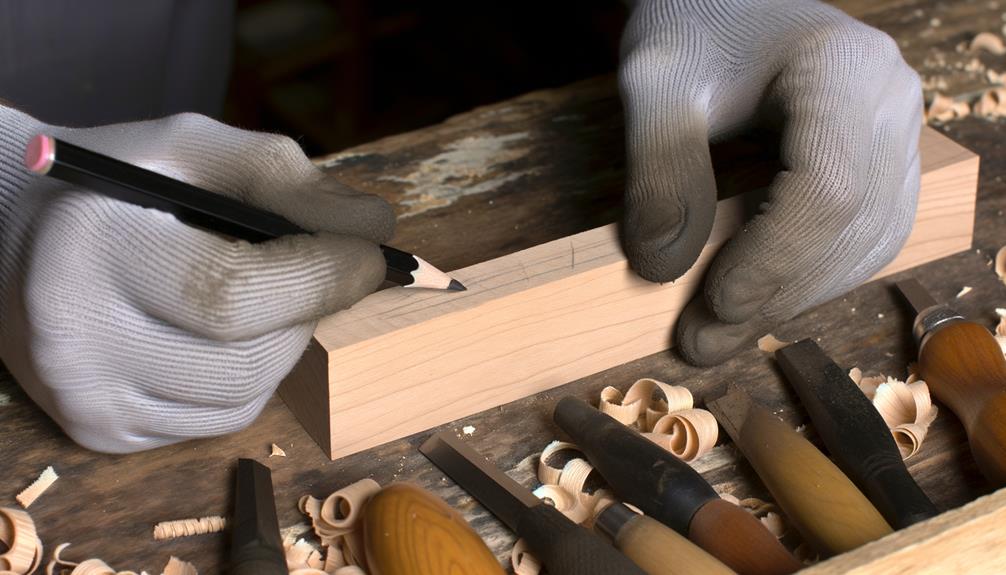
To begin preparing the wood block, one must first select a quality piece of wood, preferably basswood or tupelo, known for their fine grain and ease of carving.
Next, cut the wood to the initial shape of the Northern Cardinal using a bandsaw or coping saw.
Selecting Quality Wood
Choosing the right piece of wood is vital for carving a Northern Cardinal, and basswood is often recommended due to its fine grain and ease of carving. To select quality basswood, check for uniform grain without knots, which can disrupt the carving process. The wood should be straight-grained, as any irregularities might cause unwanted splitting.
Moisture content is critical; wood that's too wet can warp, while overly dry wood may crack. Ideally, the basswood should have a moisture content of around 6-8%.
When preparing the wood block, make sure it's free from any rot or insect damage. Cut the block to a manageable size, typically larger than the final carving, allowing ample room for initial shaping and detailing.
Cutting Initial Shape
The initial step in shaping the wood block involves marking the outline of the Northern Cardinal directly onto the basswood with a pencil. He should use a template or freehand the bird's silhouette, it's crucial to ensure the proportions are accurate.
Once the outline is in place, he needs to secure the wood block in a vise or with clamps to keep it steady. Using a band saw or coping saw, he carefully follows the penciled lines, making sure to leave a small margin outside the lines for refinement later. It's vital to cut slowly and steadily to avoid splintering the wood.
After the rough shape is cut out, he examines it to make sure the basic form of the cardinal is correctly captured.
Sanding the Surface
After cutting the initial shape, he begins by using coarse-grit sandpaper to smooth the surface and remove any rough edges or splinters from the wood block. He firmly grips the block and moves the sandpaper in circular motions, ensuring even pressure across the entire surface. This method not only refines the shape but also prepares the wood for finer sanding stages.
Next, he switches to medium-grit sandpaper, continuing the same circular motion to further smooth the surface. Finally, he uses fine-grit sandpaper to achieve a polished finish, eliminating any remaining imperfections. Throughout this process, he periodically checks the surface by running his fingers over it, ensuring it's smooth and ready for carving finer details.
Drawing the Outline
Begin by securing your block of wood and using a pencil to lightly sketch the cardinal's basic shape, ensuring accurate proportions for a realistic outline.
Focus on capturing the bird's distinctive features: its crested head, rounded body, and sharp beak. Start with the head, drawing a rounded triangle to represent the crest. Next, outline the body, forming an oval that tapers slightly at the tail. Add a smaller oval for the wing, positioned midway down the body. Sketch the tail feathers extending from the body's tapered end.
Don't forget the legs and feet, marking their positions for later detailing. Keep the lines light and adjustable, as precision at this stage will guide the subsequent carving process effectively.
Roughing Out the Shape
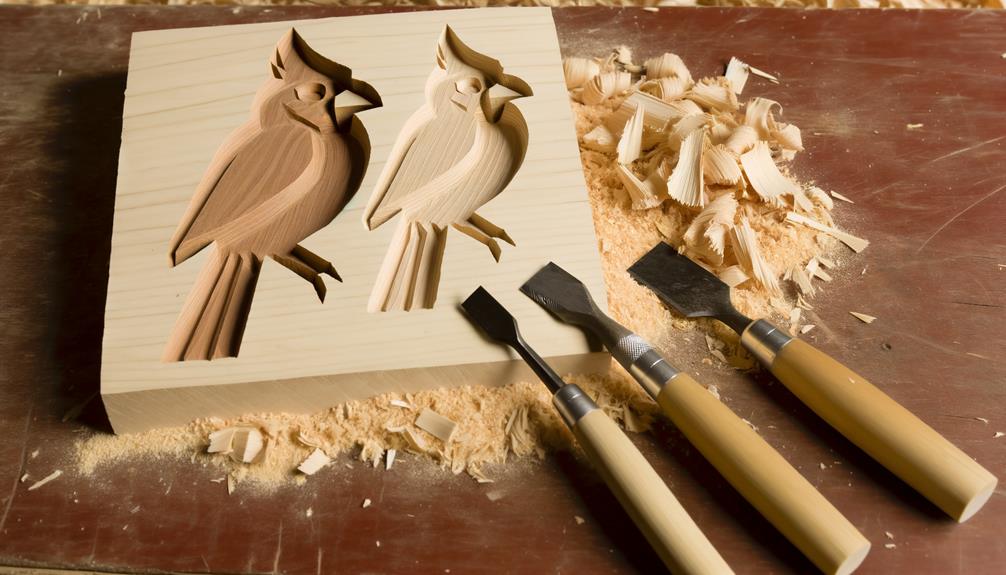
To begin roughing out the shape of the Northern Cardinal, the carver should first block out the cardinal outline using a bandsaw or coping saw.
Next, they need to remove excess wood by making controlled, sweeping cuts with a gouge or a carving knife.
This initial rough shaping sets the foundation for adding intricate details later.
Block Out Cardinal Outline
Using a bandsaw or carving knife, the woodworker should carefully outline the cardinal's basic shape, making sure the proportions are accurate and the grain direction is ideal for carving. This initial stage is important for defining the bird's overall structure and setting a solid foundation for detailed work later.
To achieve a precise outline, the woodworker should:
- Follow a reference drawing: Use a template or sketch to maintain correct proportions.
- Mark key features: Lightly draw the head, wings, and tail on the wood block.
- Check grain direction: Make sure the grain runs along the cardinal's body to facilitate smoother carving.
Remove Excess Wood
Once the cardinal's layout is established, the woodworker should begin removing excess wood to roughly shape it, starting with broader cuts to outline the bird's basic structure.
Using a large gouge or a carving knife, they should carve material from the head, body, and tail, following the layout closely. It's important to maintain control and be mindful of the grain direction to avoid splitting the wood.
By gradually refining the shape, the bird's natural curves will start to appear. Regularly checking the symmetry and proportions ensures a well-proportioned result.
At this stage, the carver shouldn't fret about fine details; the aim is to establish a solid foundation for the more detailed work ahead.
Detailing the Head
Carefully carve the beak by following the natural curvature, ensuring it's symmetrical and accurately proportioned to the head. Start with small, controlled cuts, gradually refining the shape. Pay close attention to the nostrils and the beak's tip, which should be sharp yet realistic.
Next, focus on the eyes. They should be positioned correctly and deeply set for a lifelike appearance. Use a small gouge to create the eye sockets and then smooth them out.
Define the crest: Carve the iconic crest by making precise cuts that taper smoothly.
Shape the cheeks: Gently round the cheeks to add dimension.
Refine the neck: Blend the head into the neck seamlessly by merging the cuts.
Keep the details sharp and clean for a realistic finish.
Shaping the Body
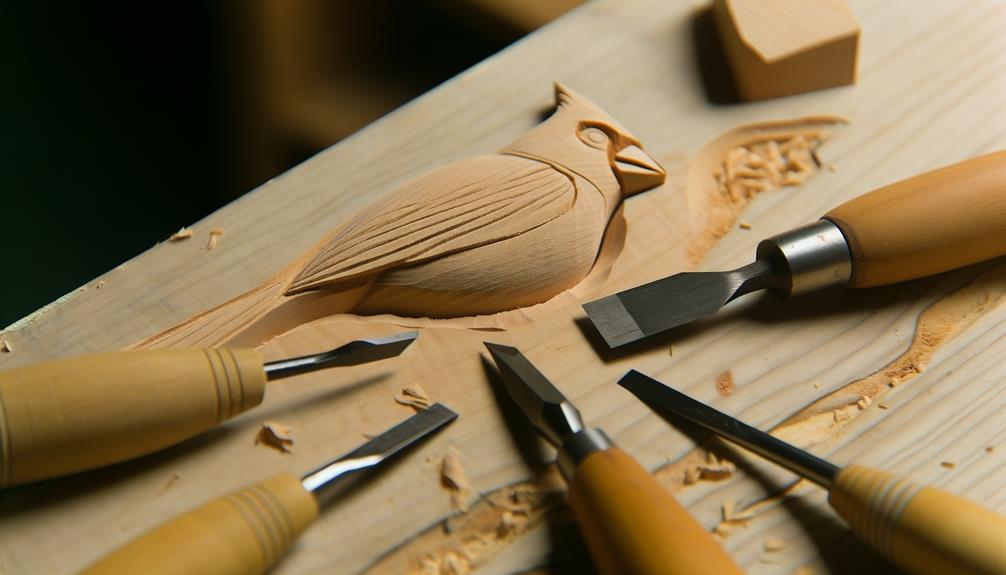
To shape the body of the Northern Cardinal, the carver must first choose a proper wood type such as basswood or tupelo, known for their workability and fine grain.
Using a bandsaw or carving knife, they'll rough out the general shape, ensuring to leave enough material for finer details later.
It's essential to maintain symmetry and proportion during this initial stage to achieve a realistic form.
Choosing Proper Wood
Selecting the right type of wood, such as basswood or tupelo, is crucial for achieving fine details and smooth curves when shaping the body of a northern cardinal. These woods are favored for their fine grain and ease of carving, allowing for precision without excessive effort.
When choosing the wood, consider the following factors:
- Grain: Opt for a fine, even grain to facilitate smooth cuts and intricate detailing.
- Hardness: Select a medium-soft wood to balance ease of carving with durability.
- Moisture Content: Verify the wood is properly dried to prevent warping and cracking.
Roughing Out Shape
With the selected timber in hand, the carver begins by sketching the cardinal's basic outline onto the block, ensuring accurate proportions and positioning.
Using a bandsaw, they carefully cut along the drawn lines to remove excess wood, revealing a rough shape of the bird.
Next, they shift to a carving knife or gouge to further refine the form, focusing on the cardinal's body and head. Gentle, controlled cuts help prevent splitting or damaging the wood.
The carver continually assesses the symmetry and balance of the shape, adjusting as necessary. At this stage, it's vital to maintain the integrity of the wood grain, as it influences the final appearance.
Patience and precision are essential for achieving a lifelike representation.
Carving the Wings
Begin by carefully outlining the primary feather groups on each wing, ensuring that the lines are clean and proportionate to maintain the bird's realistic appearance. Use a fine-tipped carving knife to define the edges of the feathers. Gradually deepen the cuts to create a layered effect, enhancing the three-dimensional look.
Undercut the feather edges: Slightly undercut each feather's edge to make them stand out more.
Texturing: Utilize a micro gouge or V-tool to add fine lines along the feathers, mimicking the natural texture.
Feather separation: Carve subtle separations between feathers to provide depth and realism.
Ensure each feather is distinct but flows naturally into the next, reflecting the Northern Cardinal's elegant wing structure.
Adding Facial Features
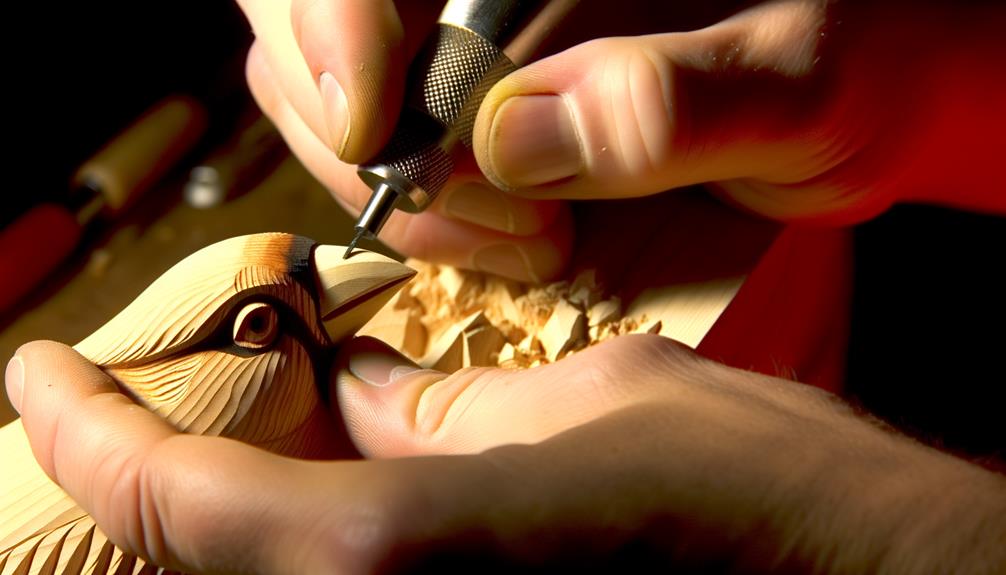
Carefully outline the cardinal's facial features, including the eyes, beak, and mask, ensuring each element is accurately positioned to capture the bird's distinctive expression.
Begin by sketching the eyes; they should be symmetrical and slightly forward-facing. Use a fine-tipped carving tool to gently indent the eye sockets.
Next, move to the beak, which consists of two parts: the upper and lower mandibles. Carve the upper mandible first, ensuring it has a slight curve. Then, carve the lower mandible to fit snugly beneath the upper part.
To wrap up, outline the mask around the eyes and beak, forming a smooth, continuous shape. Make sure all lines are clean and precise to maintain the cardinal's characteristic look.
Refining the Details
Now, focus on refining the details by smoothing out any rough edges and enhancing the texture of the feathers to give the cardinal a lifelike appearance. Start by using a fine-detail carving knife to carve deeper feather lines and create realistic feather overlaps. Guarantee the lines are consistent and follow the bird's natural feather pattern.
Next, use a small gouge tool to add subtle curves and dips that mimic the natural contours of feathers.
Pay attention to the following areas:
- Wing Feathers: Add fine lines and clean up any rough spots.
- Tail Feathers: Carve distinct separations between each feather.
- Head Crest: Enhance the sharpness to emulate the cardinal's prominent crest.
Sanding and Smoothing
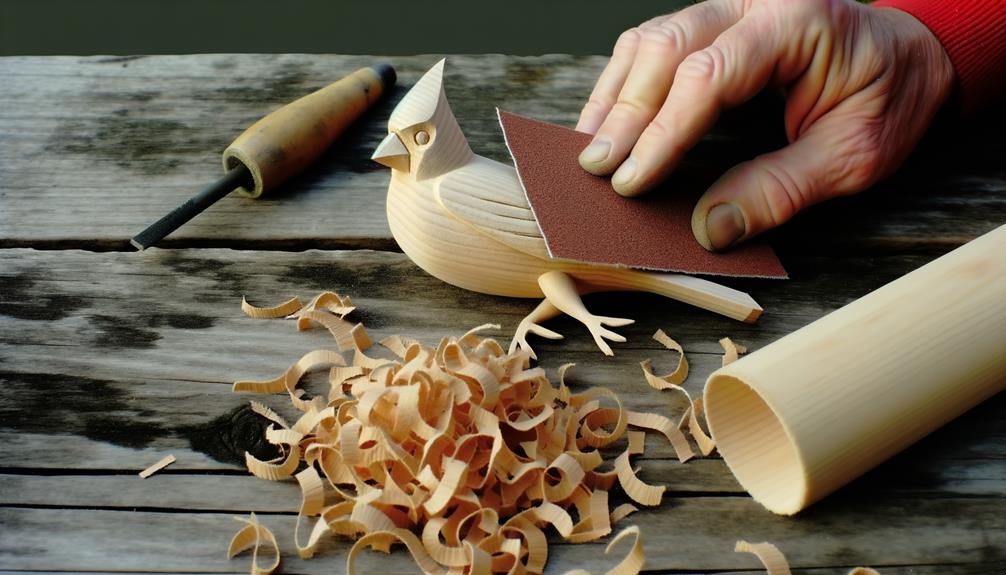
After refining the carved details, the next step involves meticulously sanding the entire surface to eliminate any remaining rough patches and achieve a smooth, polished finish. Start with a coarse grit sandpaper, such as 100-grit, to remove larger imperfections.
Progress to finer grits, moving to 150-grit, then 220-grit, ensuring each pass removes scratches from the previous grit. Hold the sandpaper flat against the wood to maintain the contours of the cardinal. Pay special attention to delicate areas like the beak and tail, using a light touch to avoid damage.
For intricate details, use small pieces of sandpaper or sanding sticks. Wipe the surface with a damp cloth to remove dust, ensuring a clean base for the next steps.
Painting and Finishing
With the surface meticulously sanded and free of dust, the next step involves applying a base coat to the Northern Cardinal, establishing a uniform foundation for the subsequent layers of color. Selecting a high-quality acrylic primer is essential. After the base coat dries, the following steps are critical:
- Layering Colors: Apply thin layers of red paint, allowing each to dry completely before adding the next.
- Detailing: Use fine brushes to add black markings around the eyes and beak, enhancing the bird's realistic appearance.
- Sealing: Finish with a clear, matte varnish to protect the paint and provide a natural look.
Throughout the process, maintain steady hands and use appropriate lighting to guarantee accuracy and precision in every stroke.
Conclusion
With the final brushstroke, the northern cardinal springs to life, much like Geppetto's beloved creation. Every detailed chisel mark, each careful sanding, and the loving application of paint culminate in a piece that sings of nature's splendor.
By following these steps, anyone can transform a simple wood block into a vibrant proof to patience and skill. Embrace the journey, for in every carved feather lies the heart of an artist, echoing the timeless magic of creation.

