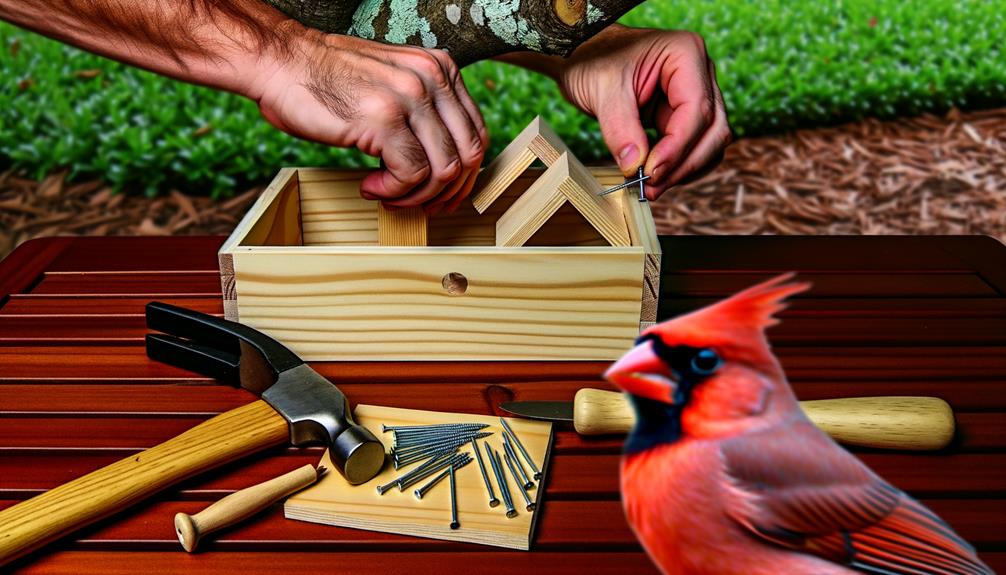
7 Easy Steps to Build a Cardinal Nesting Box
To build a cardinal nesting box, start with untreated wood, screws, a saw, and a drill. Cut the wood to specified dimensions, ensuring accurate alignment for structural integrity.
Assemble the box with screws and wood glue. Add strategically placed ventilation holes and install a predator guard.
Use earth-tone paints for camouflage. Mount the box at a perfect height using rust-resistant screws, considering environmental factors for the best nesting conditions.
Clean the box with a bleach solution after each breeding season and regularly check for structural integrity and invasive species. For detailed steps and best results, here's what you'll need.

Key Takeaways
- Cut untreated wood to precise dimensions for the nesting box structure.
- Assemble the box using screws and wood glue, ensuring it is sturdy and aligned.
- Drill ventilation holes and install a predator guard for nest protection.
- Mount the box at an ideal height and orientation using rust-resistant screws.
- Clean and sanitize the box with a bleach solution after each breeding season.
Gather Necessary Materials

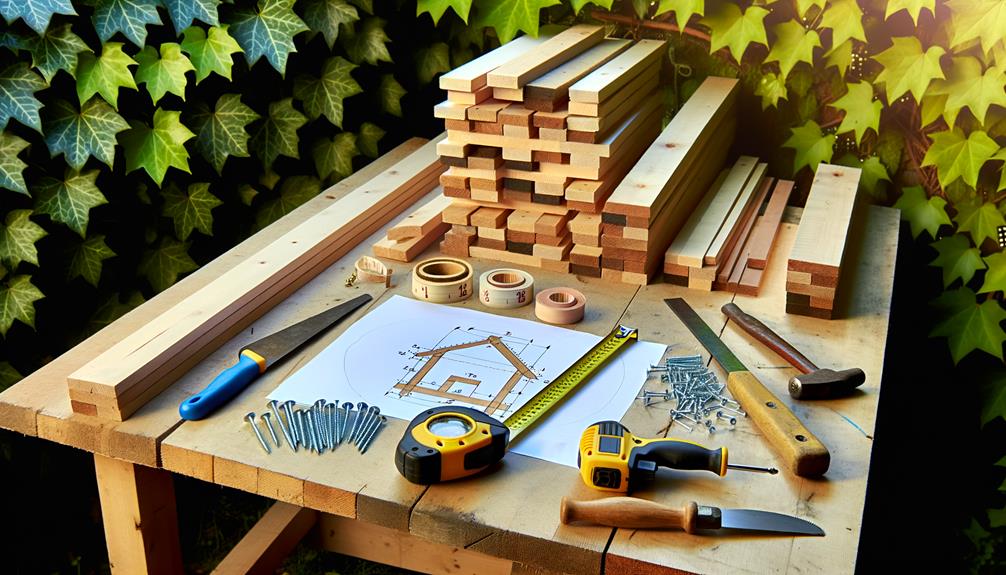
To construct a cardinal nesting box, you'll need to gather specific materials including untreated wood, screws, a saw, a drill, and measuring tools. Opt for cedar or pine wood as these are durable and resistant to decay. Confirm the wood is untreated to prevent harmful chemicals from affecting the birds.
You'll require approximately 1-inch thick boards. Secure screws that are 1.5 inches long and galvanized to resist rust. A saw is essential for precise cutting, while a drill with a 1.5-inch bit will create ventilation and entrance holes. Accurate measuring tools, like a tape measure and a square, guarantee precise dimensions.
Each material plays a critical role in crafting a secure, weather-resistant nesting environment for cardinals.
Cut the Wood Pieces
With all the materials on hand, begin by cutting the wood pieces to the specified dimensions to make sure each part fits together accurately. Precision in measurement is key to ensuring structural integrity and ease of assembly.
Utilize a saw for cutting based on the following dimensions:
- Front piece: 8 inches by 10 inches
- Back piece: 8 inches by 12 inches
- Side pieces: 6 inches by 10 inches (two required)
Ensure all cuts are straight and edges are smooth to avoid splinters. Verify dimensions with a measuring tape and double-check for accuracy.
This meticulous approach guarantees that the wood pieces will align perfectly when assembled, minimizing the need for adjustments. Remember, precise cuts lay the foundation for a sturdy and functional nesting box.
Assemble the Box

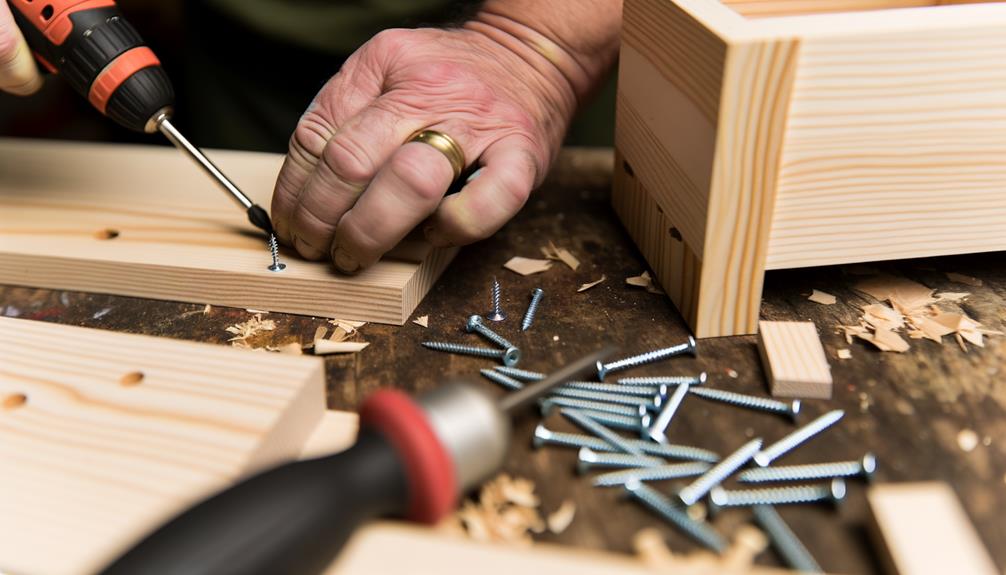
Start by gathering all required materials, such as screws, wood glue, and a power drill.
Maintain accurate alignment of the pre-cut wood pieces by following the step-by-step assembly instructions.
This systematic approach guarantees structural strength and peak performance of the nesting box.
Gather Necessary Materials
You'll need a list of necessary materials to assemble a sturdy cardinal nesting box. This includes untreated timber, galvanized screws, and water-repellent adhesive. The untreated timber guarantees a non-toxic environment, while galvanized screws resist corrosion, enhancing longevity. Water-repellent adhesive strengthens the structural integrity, necessary for outdoor conditions.
Consider the following items:
- Untreated timber: Choose cedar or pine, dimensions: 1×6 inches, 4 feet long.
- Galvanized screws: #8 size, 1 ½ inches in length.
- Water-repellent adhesive: Polyurethane-based, offering high adhesive strength.
These materials align with cardinal nesting preferences, ensuring ecological compatibility and structural steadiness. Accurate measurements and quality materials are essential for constructing a sanctuary that withstands various environmental stressors.
Prioritize these components to craft a functional, enduring nesting box.
Step-by-Step Assembly
To put together the cardinal nesting box, first measure and cut the untreated lumber into the specified dimensions, guaranteeing precise and accurate cuts for best fit and structural integrity. Using a saw, trim each piece to match the dimensions:
- Base (6×8 inches)
- Sides (8×10 inches)
- Front (8×10 inches)
- Back (8×12 inches)
- Roof (8×10 inches)
Align the sides perpendicularly to the base, securing them with galvanized screws to prevent corrosion. Attach the front and back panels, maintaining a flush alignment to optimize aerodynamics and stability. Finally, affix the roof with a slight overhang to provide adequate shelter. Check each joint for rigidity, confirming structural reliability.
This methodical approach ensures a sturdy, weather-resistant habitat for cardinals.
Add Ventilation Holes
Maximize airflow within the nesting box by drilling a series of strategically placed ventilation holes near the top. These holes guarantee optimal thermal regulation, vital for the health of nesting cardinals.
Aim for a diameter of 1/4 inch for each hole. Position them as follows:
- Two holes on each side: This allows cross-ventilation, essential for dissipating heat buildup.
- Three holes on the front and back: These provide additional airflow, reducing humidity.
- Spacing of 1 inch apart: Ensures even distribution of air without compromising the structural integrity.
Ensure each hole's position and size are measured accurately to maintain the box's durability. Consistent airflow prevents mold growth and keeps the nest dry, offering freedom from environmental stressors for the birds.
Install a Predator Guard

Installing a predator guard is crucial to protect the nesting cardinals from potential threats like raccoons, snakes, and cats. You should consider using a baffle or stovepipe guard, which empirical studies show can reduce predation rates by up to 90%.
Position the guard around the mounting pole, making sure it's at least 4-5 feet above ground level. Opt for a width of 18 inches to effectively deter climbing predators. Detailed observations reveal that a metal guard offers durability and better resistance against sharp claws.
Securely fasten the guard, as loose attachments can render it ineffective. By installing this critical barrier, you're ensuring a safer environment for the cardinals, promoting their freedom to thrive without constant threat.
Paint or Stain the Box
When painting or staining your cardinal nesting box, focus on using non-toxic, bird-safe materials to prevent harm.
Guarantee you apply weatherproofing techniques to protect the wood from moisture and extend the box's lifespan.
Choose colors that blend with natural surroundings, as studies indicate that muted tones can reduce stress for nesting birds.
Choosing Safe Materials
Choosing appropriate materials for painting or staining your cardinal nesting box is crucial to safeguard the safety and health of the birds. You need to select non-toxic, bird-safe options. Acrylic latex paint is a good choice, as it's water-based and less likely to emit harmful chemicals. Opt for light colors to prevent excessive heat absorption. Additionally, consider natural stains, which are less likely to contain volatile organic compounds (VOCs).
Here are three recommended materials:
- Acrylic latex paint: Water-based, non-toxic, minimizes VOCs.
- Natural wood stains: Derived from plant-based oils, low in harmful chemicals.
- Milk paint: Biodegradable, free from synthetic additives.
These choices guarantee that your nesting box remains safe and inviting for cardinals, promoting a healthy habitat.
Weatherproofing Techniques
Weatherproofing your cardinal nesting box with high-quality paint or stain is crucial to guarantee its endurance against harsh environmental conditions. Select a non-toxic, water-based paint or stain to shield the wood from moisture and UV radiation.
Research shows that untreated wooden structures exposed to elements deteriorate 30% more rapidly than treated ones. Apply at least two coats, allowing each to dry completely—about 24 hours between applications. Pay special attention to seams and edges, as these are prone to water infiltration.
Sand the surface lightly before and between coats to ensure ideal adhesion. By carefully following these steps, you're notably extending the lifespan of your nesting box, allowing cardinals to nest securely through various weather conditions, ensuring they thrive freely.
Color Selection Tips
Selecting the right color for your cardinal nesting box involves considering both aesthetic appeal and functional benefits. Research indicates that neutral, earthy tones blend best with natural surroundings and minimize predation risk. When choosing to paint or stain, opt for colors that meld seamlessly with the environment to enhance camouflage and protect the nest. Data shows that these colors not only provide visual harmony but also reduce visibility to predators.
Earth Tones: Browns, greens, and tans mimic the natural habitat.
Non-Toxic Paints: Make sure the paint or stain is safe for wildlife.
Matte Finishes: Glossy surfaces can attract unwanted attention.
Mount the Nesting Box

Secure the nesting box is mounted at a height between 5 to 10 feet off the ground to provide ideal safety and comfort for the cardinals. This range mitigates predation risk while allowing easy access for monitoring. Guarantee the nesting box faces away from prevailing winds to maximize thermal regulation and reduce rain intrusion. Utilize the following table for precise mounting recommendations based on cardinal behavioral studies:
| Height (ft) | Orientation | Benefits |
|---|---|---|
| 5-6 | Southeast | Morning sunlight, predator avoidance |
| 7-8 | East | Optimal warmth, reduced wind exposure |
| 9-10 | Northeast | Balanced light and shade, minimal disturbance |
| 10+ | Varied | Increased safety, less human interaction |
Mount securely using rust-resistant screws or brackets to maximize stability.
Maintain and Monitor
Regular upkeep and monitoring of the nesting box are crucial to make certain it remains a safe and welcoming habitat for cardinals. You should inspect the box monthly to guarantee structural integrity and cleanliness. Pay attention to these key activities:
- Sanitization: Clean the box with a 10% bleach solution after each breeding season to eradicate parasites and pathogens.
- Structural Check: Examine joints and fasteners for wear and repair any damage to prevent hazards.
- Environmental Assessment: Monitor for invasive species or predators that might compromise the nesting area.
These steps ensure the nesting box remains in top condition for cardinal habitation.
Detailed observations show that consistent upkeep noticeably increases nesting success rates. Embrace this routine to provide a secure environment for these colorful birds.
Conclusion
By assembling a cardinal nesting box, you're not just offering a home; you're contributing to avian biodiversity. You've meticulously gathered materials, cut wood to precise specifications, and guaranteed proper ventilation. The predator guard and weather-resistant finish are essential for long-term habitation. Mount the nesting box at the best height and orientation.
Regular maintenance and monitoring will secure your avian guests thrive. Your efforts are a sterling contribution to ornithological conservation.


