Get Mildew Off Your Cardinal Feeder in 3 Easy Steps
Start by inspecting your cardinal feeder for dark, powdery spots or patches, especially in crevices. Disassemble the feeder and set aside screws and small parts.
Scrub each part using a soft-bristled brush and a mild bleach or vinegar-water mix. Rinse thoroughly with a high-pressure nozzle, ensuring all residues are washed away.
Dry completely, using air or sunlight to prevent mildew regrowth. Place the feeder in a sunny location to deter future mildew.
Cleaning every two weeks is essential, particularly in damp weather. Continue to discover the best practices for maintaining a pristine feeder environment for your birds.
Key Takeaways
- Disassemble the feeder and inspect all parts for mildew, focusing on crevices and shaded areas.
- Soak disassembled parts in a white vinegar-water solution to loosen mildew.
- Use a soft-bristled brush and a firm-bristled brush to scrub away mildew from all surfaces.
- Rinse thoroughly with a high-pressure water stream, ensuring all residue is removed.
- Dry completely by air drying, towel drying, or sun drying to prevent mildew regrowth.
Identify Mildew Presence
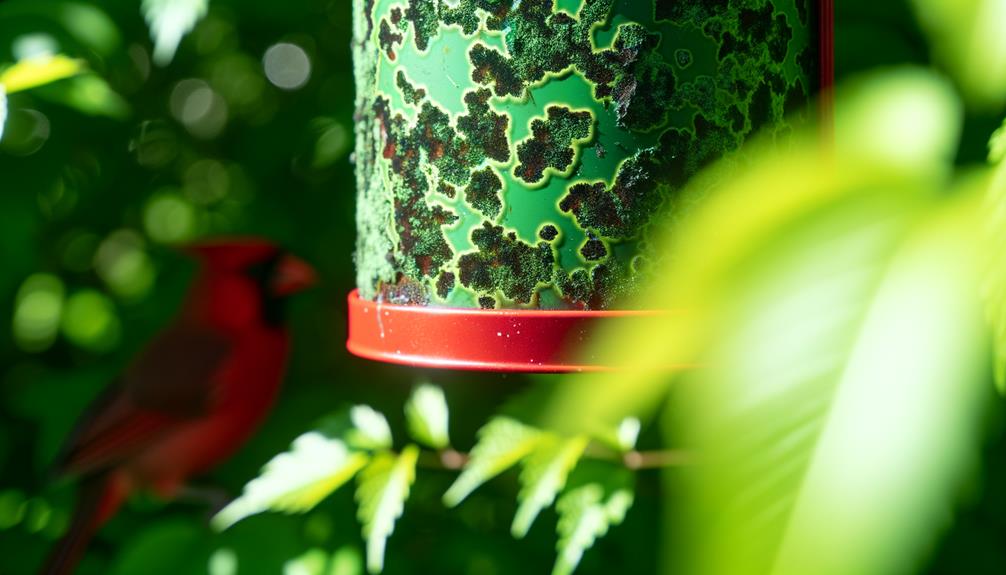
To spot mildew presence on your cardinal feeder, closely examine the surface for any dark, powdery spots or patches that frequently appear grey, black, or green. You'll need to inspect both the interior and exterior of the feeder, paying special attention to crevices, joints, and any areas where moisture might collect.
Mildew thrives in moist, shaded conditions, so focus on spots that receive less direct sunlight. Utilize a magnifying glass if needed to get a detailed view. Mildew often develops on natural materials like wood or residue remaining from bird feed.
Detecting mildew early is essential, as it can spread quickly and jeopardize the well-being of your feathered visitors. Regular checks guarantee a safe, hygienic feeding environment.
Gather Cleaning Supplies
To effectively clean your cardinal feeder, you'll need to gather essential tools such as a soft brush, gloves, and a bucket.
Make certain to use safe cleaning solutions like a mild bleach solution or a vinegar-water mix to avoid harming the birds.
Proper preparation with the right supplies guarantees a thorough and safe mildew removal process.
Essential Cleaning Tools
Start by gathering a variety of necessary cleaning tools, including a firm-bristled brush, a pair of latex gloves, a pail, gentle dish soap, white vinegar, and a scrubber. Each tool plays a pivotal role in effectively eliminating mildew.
The firm-bristled brush will assist in scrubbing away persistent mildew spots without harming the feeder. Latex gloves shield your hands from any strong cleaning agents. Use the pail to blend your cleaning mixture, guaranteeing you have enough to completely soak the feeder.
Gentle dish soap is mild yet potent, while white vinegar serves as a natural disinfectant. The scrubber will help you access and clean smaller, intricate parts of the feeder. These tools ensure a thorough and efficient cleaning process.
Safe Cleaning Solutions
With your cleaning tools assembled, now focus on selecting safe cleaning solutions to effectively and safely eliminate mildew from your cardinal feeder.
Opt for a mild dish soap free of harsh chemicals, as potent detergents can harm both the feeder and the birds. Create a solution by mixing one part white vinegar with three parts water. Vinegar's natural acidity combats mildew without leaving harmful residues.
If mildew persists, hydrogen peroxide can be a stronger alternative; mix one part peroxide with three parts water. Remember, always rinse thoroughly to make sure no cleaner remains on the feeder. Avoid bleach or ammonia, as their residues can be toxic to birds.
With these solutions, you'll maintain a pristine, bird-friendly feeder.
Disassemble the Feeder
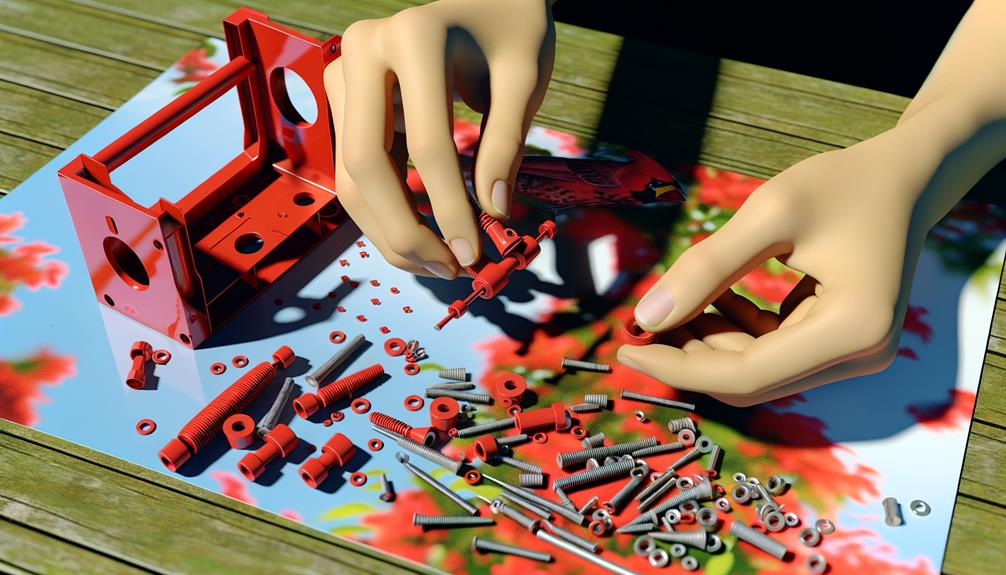
Begin by carefully removing all feeder parts, ensuring each component is detached without forcing.
Inspect each piece for any signs of damage or wear that could affect the feeder's functionality.
Place the screws and smaller parts in a secure container to avoid misplacement during reassembly.
Remove Feeder Parts
Carefully detach each part of the feeder to make sure all components are accessible for thorough cleaning. Start by unscrewing any bolts or screws that hold the feeder together. Use a screwdriver or wrench as needed.
Gently remove the perches, feeding ports, and base. Be mindful of any small or fragile parts that could break or get lost. If your feeder has a glass or plastic reservoir, slide it out carefully to avoid cracks.
For feeders with multiple sections, separate them methodically. Place each part in a designated area to prevent misplacement.
Inspect for Damage
Examine each disassembled part of the feeder meticulously for any signs of wear, cracks, or other damage that could compromise its functionality. Look closely at the perches, feeding ports, and the base.
Pay special attention to small components like springs and seals, as any minor defect could affect the feeder's performance. Use a magnifying glass if needed to inspect hard-to-see areas.
Check for rust on metal parts, which not only weakens the structure but also poses a health risk to birds. If you find any damaged components, consider ordering replacements from the manufacturer or a specialized retailer.
Maintaining your feeder in top condition ensures it's safe and inviting for the cardinals, granting you the freedom to enjoy bird watching without worry.
Set Aside Screws
Remove all screws methodically and place them in a small container to prevent loss and secure easy reassembly later. Use a screwdriver that matches the screw heads to avoid stripping them.
Start from the bottom and work your way up, making sure you remember the order of disassembly. This approach helps you maintain control over the process and guarantees each part is addressed.
If the feeder has multiple sections, label each container with its corresponding section. This meticulousness secures you won't miss any critical steps during reassembly.
Pre-Rinse With Water
Begin by thoroughly rinsing the cardinal feeder with a strong stream of water to eliminate loose debris and surface mildew. Use a high-pressure nozzle on your garden hose for this task. Make sure all feeder parts—base, lid, and ports—receive attention.
Direct the water flow into tight crevices and hard-to-reach areas. Maintaining a firm grip, rotate the feeder to cover all angles, paying special attention to areas where mildew tends to accumulate. This initial rinse is essential for loosening grime and prepping the feeder for deeper cleaning.
Don't rush through this step; a meticulous pre-rinse sets the stage for effective mildew removal, securing your feathered friends have a clean, inviting feeder to return to.
Soak in Cleaning Solution
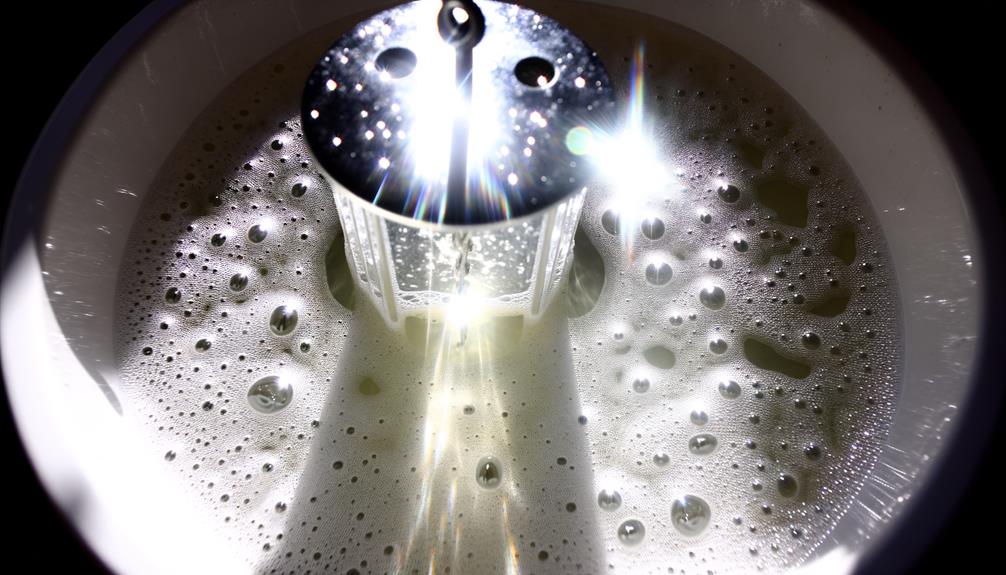
To effectively combat mildew, immerse the disassembled feeder parts in a cleaning solution made up of one part white vinegar to nine parts water. Make sure each component is fully submerged for at least 15 minutes. This soaking process allows the acetic acid in the vinegar to penetrate and loosen mildew spores, making them easier to remove later.
Use a non-reactive container, such as plastic or glass, to avoid unwanted chemical reactions. Don't rush this step; soaking is essential for thorough mildew removal. If any parts float, weigh them down with a clean, heavy object. Confirm the solution reaches all crevices and surfaces.
This method not only cleans but also sanitizes, guaranteeing a safe environment for your feathered visitors.
Scrub Thoroughly
After soaking, scrub the feeder thoroughly using mild cleaners to avoid damaging the material.
Employ appropriate scrubbing tools like brushes or sponges to guarantee all mildew is removed.
Use Mild Cleaners
A soft-bristled brush paired with a mild soap solution guarantees you can effectively scrub away mildew without damaging your cardinal feeder's delicate surfaces. Opt for a gentle, non-abrasive cleaner that won't harm the feeder's material. Dilute a few drops of mild dish soap in warm water to create an effective cleaning solution.
- Eco-friendly dish soap: Safe for both birds and the environment.
- Baby shampoo: Gentle enough for delicate surfaces.
- White vinegar: Natural disinfectant that breaks down mildew.
Mix the solution thoroughly and soak the affected parts of the feeder. Scrub gently but thoroughly, ensuring you reach all crevices where mildew might hide. Rinse well with clean water to remove any soap residue, ensuring it's safe for the birds to use once dry.
Scrubbing Tools Required
Once you've prepared your mild cleaning solution, selecting the right scrubbing tools is crucial to effectively remove mildew without harming your cardinal feeder. Opt for a soft-bristled brush to gently yet thoroughly scrub surfaces.
A toothbrush can reach into tight corners and intricate designs. For larger areas, a sponge with a non-abrasive side works well. Avoid using metal brushes or harsh scrubbing pads, as they can damage the feeder's material.
You might also find a bottle brush useful for cleaning narrow tubes or feeding ports. Confirm all tools are clean to prevent cross-contamination.
Rinse and Dry
When you're done scrubbing, thoroughly rinse the cardinal feeder with clean water to make certain all cleaning solution and loosened mildew are completely removed. Make sure to inspect every nook and cranny, verifying no residue is left behind. This step is essential for preventing any chemical contamination that might harm the birds.
Next, dry the feeder completely.
You can:
- Air dry: Hang the feeder in a well-ventilated area.
- Towel dry: Use a clean, absorbent cloth.
- Sun dry: Place the feeder in direct sunlight for natural sterilization.
Drying the feeder thoroughly assures no moisture remains, which could promote mildew regrowth.
Once dry, reassemble the feeder carefully, ensuring all parts fit securely. This guarantees a clean, safe feeding environment for your cardinals.
Rinse and Dry

Thoroughly rinse the cardinal feeder with clean, lukewarm water to make sure all soap residue and loosened mildew are completely washed away. Make sure you focus on every crevice, as even small amounts of residue can attract mildew. After rinsing, shake off any excess water.
Next, dry the feeder entirely with a lint-free cloth. You don't want any moisture left that could promote mildew growth. Finish by placing the feeder in a well-ventilated area to air-dry completely.
Here's a quick reference:
| Step | Description | Tools Needed |
|---|---|---|
| Rinse | Use lukewarm water | Water source |
| Shake | Remove excess water | Hands |
| Dry | Use lint-free cloth and air dry | Cloth, ventilated area |
Proper drying is essential to prevent future mildew.
Inspect for Residual Mildew
Carefully examine every part of the feeder to verify there's no mildew left, paying special attention to hidden areas like joints and seams. Use a magnifying glass if necessary to guarantee thorough inspection. Mildew can hide in the smallest crevices, so be meticulous.
Check under lids and caps: These areas often trap moisture.
Inspect feeding ports: Mildew can easily accumulate where food residue lingers.
Examine hanging mechanisms: Chains and hooks can harbor hidden spores.
Run your fingers over surfaces to feel for any slimy or rough patches, indicative of remaining mildew. If you spot any, clean those areas again with a vinegar solution. This careful inspection guarantees your cardinal feeder is fully sanitized, providing a safe feeding environment for the birds.
Reassemble the Feeder
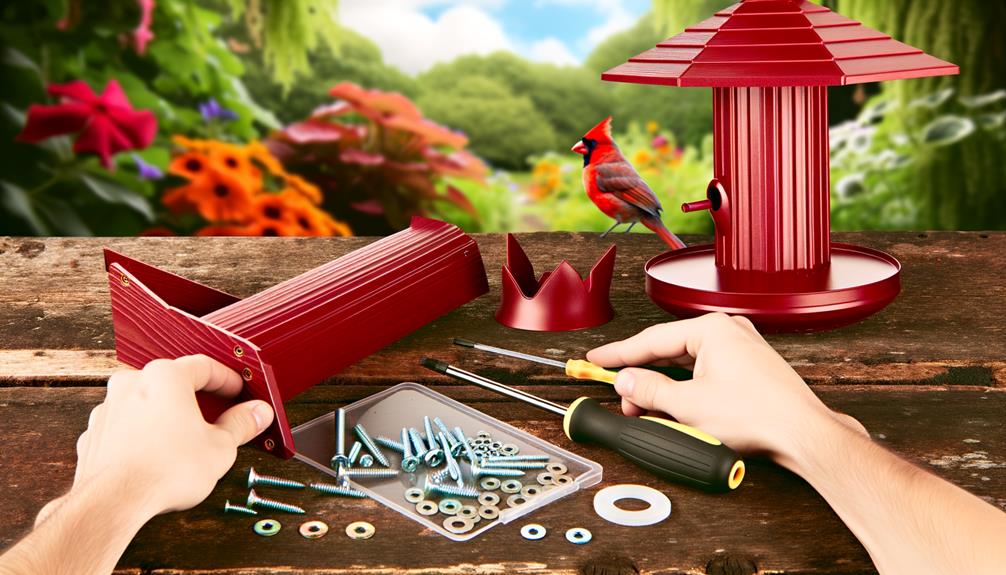
Begin the reassembly process by aligning all parts of the feeder, making sure each component is thoroughly dry to prevent future mildew growth.
Start with the base, securing it firmly.
Next, attach the reservoir, ensuring it locks into place without any gaps.
Reconnect the feeding ports, confirming they're clean and debris-free.
Check the perches; they should fit snugly and be stable.
If your feeder has a roof, position it carefully and fasten any clips or screws.
Finally, inspect all seals and connections; they should be tight to avoid moisture ingress.
This meticulous approach guarantees the feeder is ready for use and reduces the risk of mildew reoccurrence, giving you and your feathered friends a cleaner feeding environment.
Prevent Future Mildew
With your feeder reassembled, implementing a few strategic measures can greatly minimize the risk of mildew in the future. Ensuring proper airflow and reducing moisture retention are key.
Opt for feeders made of materials less prone to mildew, such as metal or hard plastic.
- Choose a Sunny Location: Place the feeder where it gets ample sunlight to keep it dry.
- Use Antifungal Solutions: Add a few drops of antifungal solution to the nectar, which inhibits mildew growth.
- Monitor Weather: During wet seasons, bring the feeder indoors to prevent moisture buildup.
Maintain Regular Cleaning Schedule
Establishing a consistent cleaning schedule is crucial for maintaining a mildew-free cardinal feeder. You should clean the feeder every two weeks, or more frequently in damp weather. Use a mixture of one part white vinegar to two parts water, scrubbing all surfaces thoroughly. Rinse well and let it dry completely before refilling.
Here's a quick reference to keep you on track:
| Frequency | Cleaning Solution | Steps |
|---|---|---|
| Bi-weekly | Vinegar & Water | Scrub, Rinse, Dry |
| Weekly | Hot Soapy Water | Clean, Rinse, Dry |
| Monthly | Bleach & Water | Soak, Rinse, Dry |
| As Needed | Mild Detergent | Wipe, Rinse, Dry |
Following this schedule guarantees your birds stay healthy and your feeder remains inviting.
Conclusion
By boldly battling mildew and meticulously maintaining your cardinal feeder, you establish a clean, safe sanctuary for your feathered friends. Consistent cleaning curtails contamination, keeping mildew at bay.
Follow these steps:
- Identify, gather, disassemble, pre-rinse, soak, inspect, and reassemble.
Prevent future problems by positioning your feeder in sunny spots and promptly removing damp debris. With your diligent efforts, you've created a pristine perch for cardinals, fostering a flourishing, feathered community.
Happy birdwatching!