How Do You Clean Dorothy’s Cardinal Feeder in 10 Steps?
To clean Dorothy's Cardinal Feeder, gather gentle soap, a soft-bristle brush, and a mild bleach or vinegar-water solution. Disassemble the feeder, taking care to keep track of all parts.
Pre-rinse each piece with lukewarm water to remove loose debris. Soak components in the cleaning solution for at least 15 minutes.
Use the brush to scrub thoroughly, reaching into small crevices. Rinse well under running water to remove any soap or vinegar residue.
Inspect for damage like cracks or rough edges. After drying completely, reassemble the feeder securely and refill with fresh birdseed.
For a further exploration into this process, continue to delve deeper into the details.

Key Takeaways
- Disassemble the feeder and rinse each part under lukewarm water to remove debris.
- Soak parts in a mild bleach or vinegar-water solution for at least 15 minutes.
- Scrub components with a soft-bristle brush and gentle soap to clean thoroughly.
- Rinse all parts under running water to eliminate soap and solution residues.
- Inspect for damage and let components air dry completely before reassembling and refilling with birdseed.
Gather Cleaning Supplies

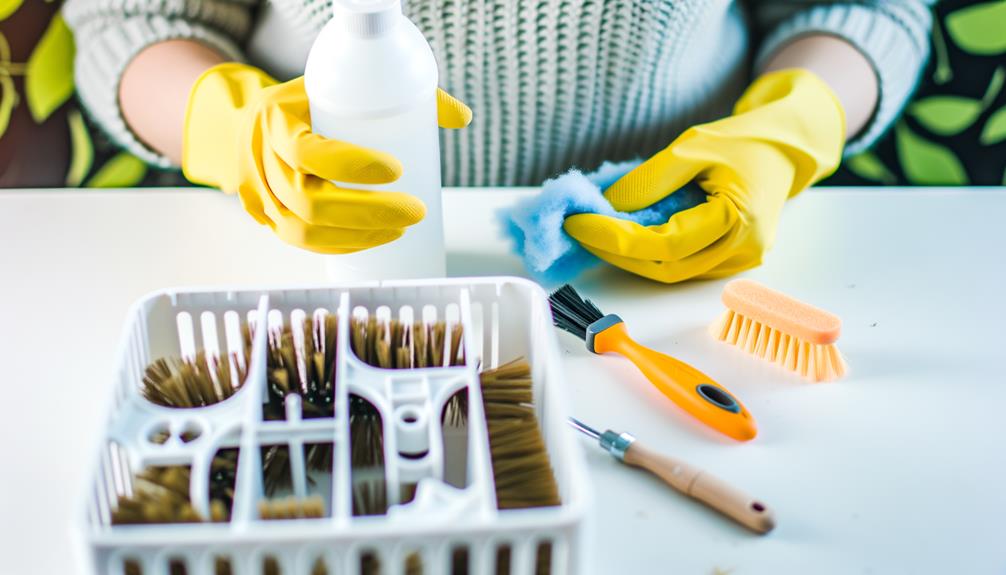
To begin cleaning Dorothy's cardinal feeder, you'll need to gather necessary cleaning supplies such as a gentle soap, a soft-bristle brush, a container, and clean water. Opt for an eco-friendly soap to guarantee environmental safety.
The soft-bristle brush is essential for removing debris without harming the feeder's surface. Fill the container with clean, lukewarm water to maximize the cleaning effectiveness. The mild soap will help break down organic residues, while the brush's bristles will reach into crevices.
Make sure the water is free from impurities, as contaminants can impact the feeder's cleanliness. By carefully selecting each item, you'll set the stage for a thorough and efficient cleaning process, ensuring Dorothy's feeder remains a safe haven for cardinals.
Disassemble the Feeder
Begin by carefully removing each part of the feeder, ensuring you keep track of all components. Handle each piece with care to avoid damage or loss, as even small cracks can compromise the feeder's functionality.
Lay the parts out systematically to facilitate effective cleaning and easy reassembly.
Remove Feeder Parts
Carefully examine the feeder to identify all the detachable parts, making sure you understand how each component fits together.
Start by removing the feeder's base, which is typically screwed or latched on.
Next, detach the perches and feeding ports. Gently twist or unscrew these elements, paying close attention to their points of attachment.
Look for any clips or latches securing the roof and reservoir.
If your feeder has a seed tray, lift it off carefully.
Document each step, maintaining the order of removal to facilitate reassembly later.
Each part should come away with minimal force when handled correctly.
This systematic disassembly guarantees that you can clean every nook and cranny, promoting a healthier feeding environment for Dorothy's cardinals.
Handle With Care
Handle each component of the feeder with care, making sure you don't apply excessive force that could cause damage or misalignment.
Begin by identifying all screws, clips, and joints. Use a precision screwdriver to remove screws, turning counterclockwise. For clips, gently press and release them. Avoid using pliers as they may exert too much pressure, causing cracks.
Observe each part's orientation before removing it; you might find it helpful to take photos. This guarantees accurate reassembly. Plastic parts, especially, require gentle handling to prevent stress fractures.
If any part resists, stop and reassess; forcing it can lead to irreversible damage. By methodically disassembling the feeder, you maintain its integrity and functionality, ensuring the cardinals' haven remains pristine.
Pre-rinse the Feeder

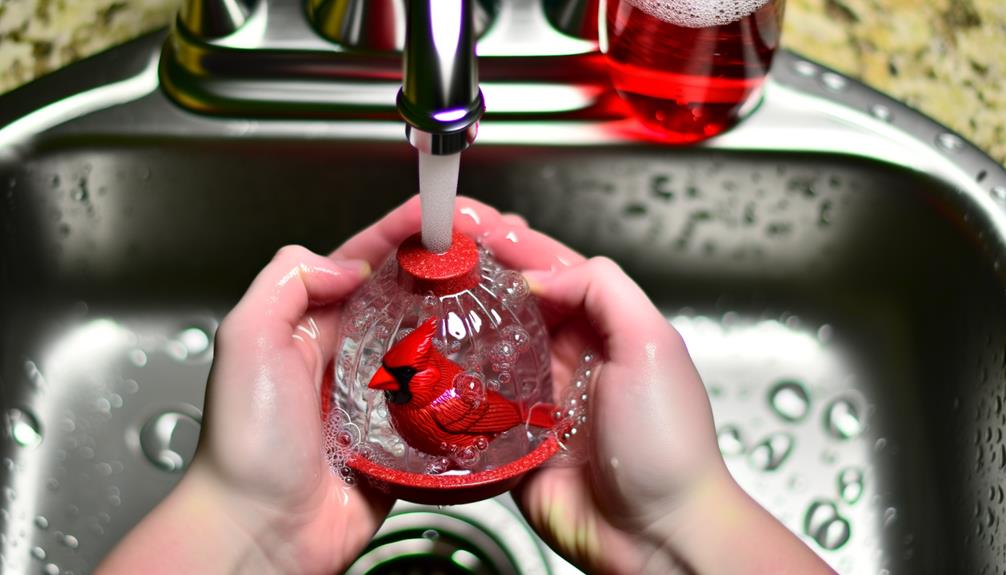
To effectively pre-rinse the feeder, start by disassembling all removable parts and holding them under a constant flow of lukewarm water to remove loose debris. Pay close attention to small crevices where mold or old seeds might hide. Use your fingers or a soft brush to gently dislodge stubborn particles.
This initial rinse is essential as it minimizes contamination during the deeper cleaning stages. Guarantee the water pressure isn't too high to avoid damaging delicate components. Analyzing the feeder's condition during this step helps determine if additional scrubbing will be necessary later.
Soak in Cleaning Solution
Now, select a suitable cleaning solution, such as a mild bleach mix or a vinegar-water solution. Combine the solution with water in a 1:10 ratio to guarantee it's effective yet safe.
Submerge the entire feeder in this mixture, allowing it to soak thoroughly for at least 15 minutes to eliminate any harmful residues.
Choose Cleaning Solution
Selecting an appropriate cleaning solution is essential for maintaining the health and longevity of Dorothy's cardinal feeder. You'll want to choose a solution that's effective at removing debris and safe for the birds.
Here's a detailed guide to help you pick:
- White Vinegar: Its acetic acid content is excellent for breaking down organic matter and disinfecting surfaces.
- Bleach Solution: A diluted bleach solution (1 part bleach to 9 parts water) can effectively kill bacteria and mold.
- Commercial Bird Feeder Cleaner: Specifically formulated to be safe and efficient, these solutions often include enzymes to break down residues.
- Baking Soda Paste: Non-toxic and mildly abrasive, baking soda can scrub away tough grime without harming the feeder.
Each option has its merits, so select based on your cleaning needs and safety preferences.
Mix With Water
Start by diluting your selected cleaning mixture with water, adhering to the recommended ratios for best effectiveness and safety. Verify you measure accurately to maintain the mixture's potency without risking damage to the feeder or harming the birds. Use a container large enough to allow complete submersion of the feeder parts.
Mix the mixture thoroughly to ensure a uniform concentration. A well-mixed solution guarantees every part of the feeder is exposed to the same cleaning strength, essential for removing contaminants and residues effectively.
Opt for a non-toxic, biodegradable solution, as this aligns with eco-friendly practices and won't harm the environment. Properly diluted, your cleaning mixture will efficiently sanitize Dorothy's cardinal feeder, making it safe and welcoming for the birds.
Soak Feeder Thoroughly
Once your cleaning mixture is ready, submerge all parts of Dorothy's cardinal feeder in the solution to make certain every surface is thoroughly soaked and sanitized. This guarantees any bacteria, mold, or debris is effectively eradicated. Let the feeder sit in the solution for a minimum of 15 minutes to allow the cleaning agents to penetrate and break down contaminants.
- Disassemble thoroughly: Make certain each component is separated to maximize exposure to the solution.
- Agitate occasionally: Gently stir the solution to maintain a consistent cleaning action.
- Inspect: Periodically check for any residue that may require additional attention.
- Rinse: After soaking, rinse each part with clean water to remove any residual cleaning solution.
Scrub Thoroughly

Thoroughly scrubbing every component of Dorothy's cardinal feeder guarantees the removal of residual feed and harmful bacteria. Start by disassembling the feeder completely to access all parts.
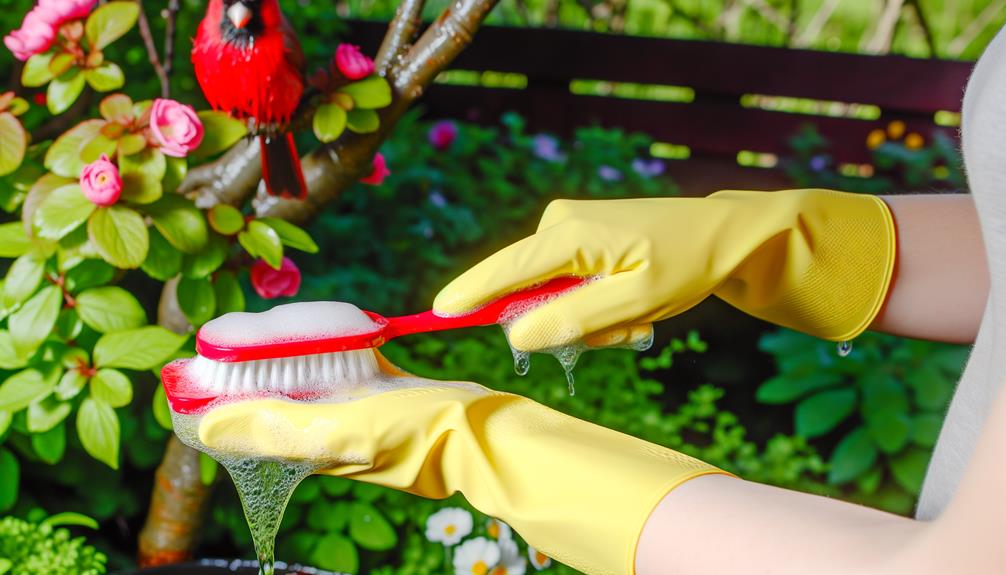
Use a stiff brush with firm bristles to scrub each piece. Pay special attention to small crevices and edges where mold and bacteria often accumulate. A mild soap solution works best, as harsher chemicals can leave harmful residues. Apply consistent pressure while scrubbing to make sure thorough cleaning.
For stubborn spots, a mixture of water and white vinegar can be effective. Don't rush—take your time to confirm each part is spotless. This meticulous approach ensures a clean environment, promoting the health and well-being of the cardinals visiting your feeder.
Rinse and Dry
Rinse each component of the feeder under running water to guarantee all soap and vinegar residues are completely removed. Pay close attention to crevices and hard-to-reach areas, as residues can compromise the health of visiting birds.
After rinsing, shake off excess water and place the parts on a clean, dry towel. Make sure each piece is thoroughly dried to prevent mold growth and maintain a healthy feeding environment. Air drying is recommended, but you can also use a clean cloth to speed up the process.
- Use lukewarm water to aid in the effective removal of residues.
- Inspect each piece for remaining moisture before reassembly.
- Dry in a well-ventilated area to hasten the drying process.
- Avoid direct sunlight to prevent warping of plastic components.
Inspect for Damage

Carefully inspect each component of the feeder for cracks, chips, or other signs of wear that could compromise its structure and functionality.
Pay close attention to the seams and joints where different parts connect, as these areas are prone to stress fractures.
Check the perches and feeding ports for any sharp edges that could harm the birds.
Confirm the hanging mechanisms are intact and secure; a broken hook or weakened chain could lead to the feeder falling.
Look for any discoloration or warping, which might indicate long-term exposure to harsh weather conditions.
Reassemble and Refill
Once you've verified all components are in good condition, start reassembling the feeder by firmly attaching each part in its designated position. Pay particular attention to confirming all seals and joints are properly aligned to prevent future leaks or contamination. Carefully follow these steps:
- Base assembly: Attach the base firmly, making sure there's no wobble.
- Reservoir attachment: Fit the reservoir securely, avoiding gaps.
- Feeding ports: Align and secure feeding ports to allow easy access for cardinals.
- Cover placement: Place the cover securely to protect the feed from the elements.
After reassembly, refill the feeder with fresh, high-quality birdseed. Confirm the seed is dry and free from mold to maintain the health of visiting birds. Finally, hang the feeder back in its original location, ready for use.
Conclusion
You've now mastered the art of cleaning Dorothy's cardinal feeder. With careful disassembly, thorough scrubbing, and meticulous reassembly, you've guaranteed a pristine dining spot for your feathered guests.
This method isn't just about cleanliness—it's a health upgrade for your backyard visitors. Regular maintenance means fewer avian ailments.
Remember, a sparkling feeder invites more cardinals, making your garden their favorite bistro. So, keep it up; your feathered friends are relying on you!


